
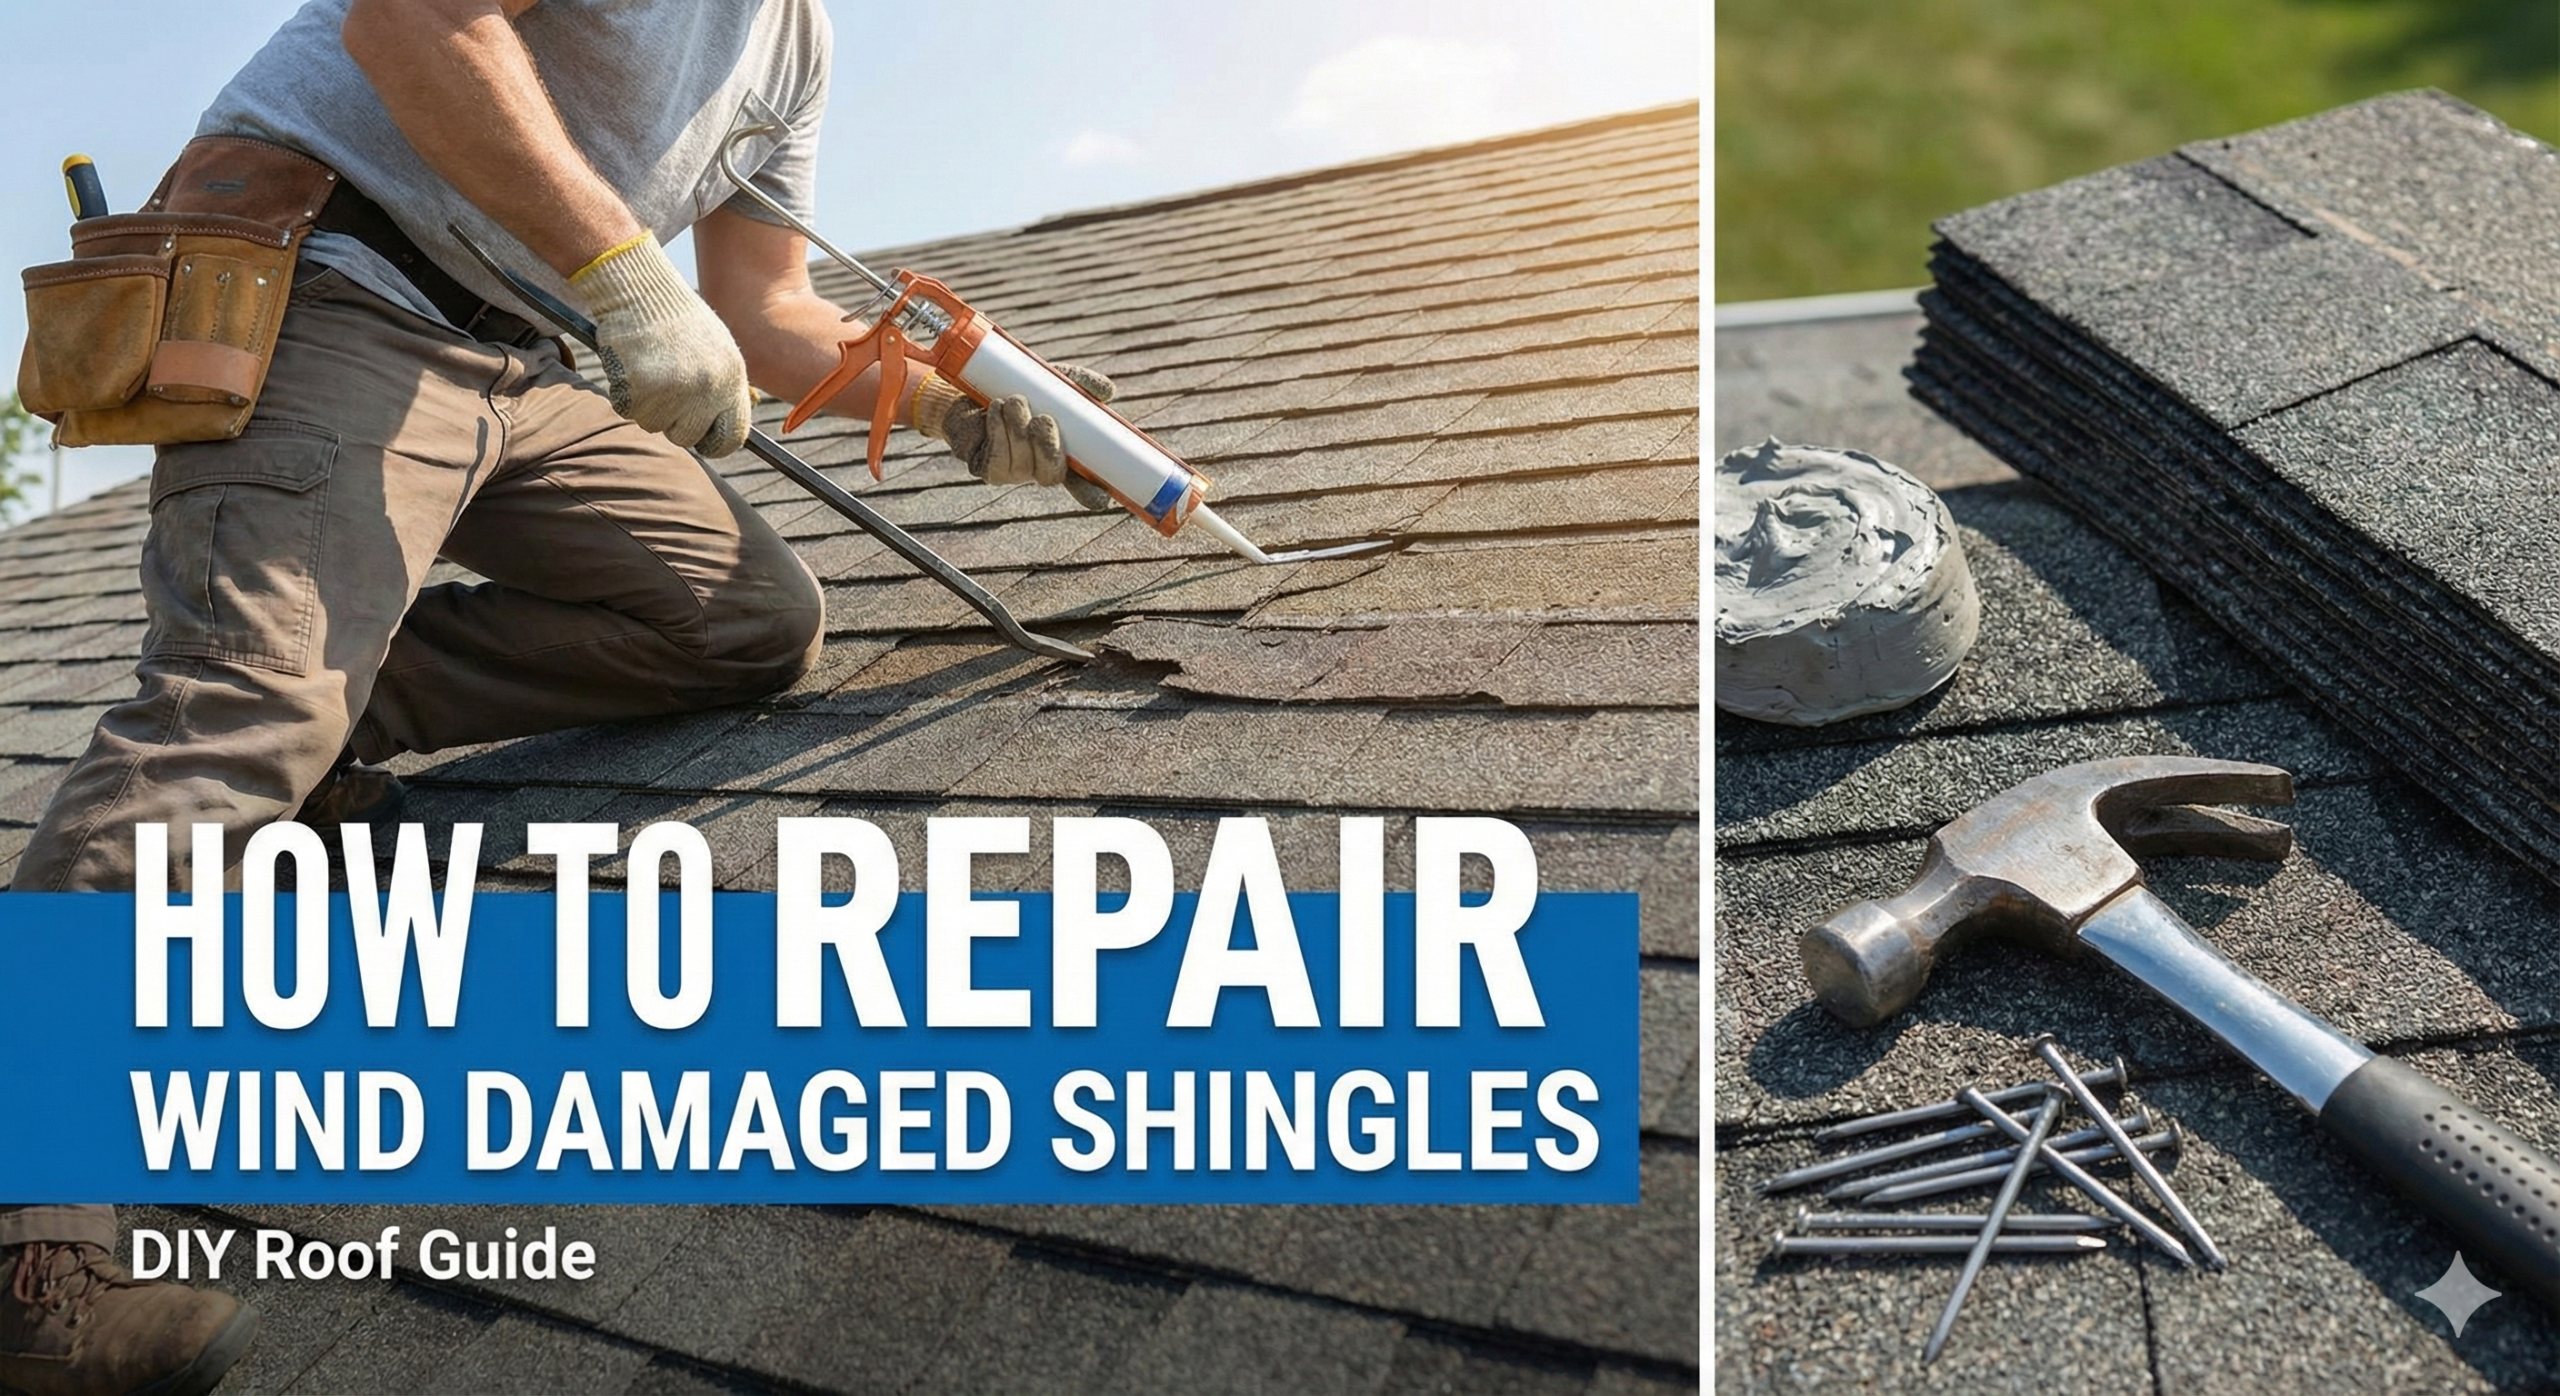
How to Repair Wind Damaged Shingles: A Comprehensive Homeowner’s Guide
Introduction: The Silent Threat of Wind Damage
Wind damage is often the most deceptive form of roofing distress. While a fallen tree or a missing section of shingles is obvious, high-velocity winds often cause “hidden” damage that compromises the structural integrity of your home over time. Whether you live in a hurricane-prone coastal region or an area prone to severe thunderstorms, understanding how to repair wind-damaged shingles is an essential skill for any property owner.
High winds create a phenomenon known as “uplift.” As wind rushes over the peak of your roof, it creates a pressure differential that can lift shingles, break their adhesive seals, and leave your underlayment vulnerable to water infiltration. If left unaddressed, these minor issues evolve into costly leaks, mold growth, and eventual structural rot. In this guide, we will explore the nuances of wind damage, the tools required for a professional-grade repair, and a step-by-step breakdown of the restoration process.
Before you climb, ensure you have the right sealant to bond those shingles back down.
Check Price on AmazonUnderstanding the Anatomy of Wind Damage
Before jumping into repairs, you must identify what kind of damage you are dealing with. Wind doesn’t always blow shingles off entirely; sometimes, it merely weakens them. Here are the three primary types of wind-related shingle failure:
1. Seal Failure and Lifting
Asphalt shingles rely on a factory-applied strip of sealant to bond to the course below them. When winds exceed the rating of the shingle, this bond can snap. Once the seal is broken, the shingle “flaps” in the wind. Even if it lays back down when the storm passes, the seal will not re-adhere on its own, allowing rain to be blown upward under the shingle.
2. Creasing
When a shingle lifts repeatedly during a storm, the fiberglass matting inside the shingle begins to crack. This creates a visible horizontal line or “crease” across the top of the shingle. A creased shingle is a failed shingle; it has lost its water-shedding capabilities and will eventually snap off.
3. Missing Shingles
This is the most severe stage, where the wind tear-strength of the material is exceeded, and the fastener pulls through the shingle. This leaves the purpose of roof underlayment as your only line of defense, which is temporary at best.
| Damage Type | Visibility | Urgency | Repair Method |
|---|---|---|---|
| Seal Failure | Low (requires manual check) | Moderate | Apply Roof Sealant |
| Creasing | Medium (dark lines) | High | Full Shingle Replacement |
| Missing Shingles | High (exposed deck) | Critical | New Shingle Installation |
Preparation and Safety: Don’t Skip This
Roofing is dangerous. Wind-damaged roofs are even more so because the shingles you are stepping on might be loose. Before you begin, you need to gear up properly. This isn’t just about convenience; it’s about life and death.
First, you must have the best roofing shoes to ensure maximum grip on granules. Standard sneakers will slip, especially on steeper pitches. Secondly, never work on a roof without one of the best roof harnesses properly anchored to the ridge. Finally, ensure you are using stable equipment; consulting a guide on the best roof ladders can help you choose a model that won’t kick out while you’re transitioning to the eave.
Safety Checklist
- Wear a fall-arrest harness
- Work during a dry, calm day
- Have a spotter on the ground
- Inspect your ladder for damage
What to Avoid
- Walking on a wet or icy roof
- Working alone on a steep pitch
- Wearing loose, baggy clothing
- Using rusted or old fasteners
Essential Tools for Shingle Repair
To perform a repair that lasts as long as the rest of your roof, you need the right kit. Professionals don’t just use a hammer and a prayer; they use specialized tools designed for asphalt manipulation.
- The Pry Bar (Flat Bar): Essential for breaking the seals of surrounding shingles without tearing them.
- The Hammer: Using one of the best roofing hammers ensures you have a magnetized head for one-handed nailing and a gauge for proper exposure.
- Roofing Sealant: You need a high-grade thermoplastic or asphalt-based sealant. Check our review of the best roof sealant for options that withstand high heat and UV rays.
- Utility Knife: For trimming shingles to fit.
- Tool Belt: Keeping your hands free is vital. A best roofing tool belt organizes your nails, bar, and knife efficiently.

Step-by-Step Guide: Repairing Wind Damaged Shingles
Follow these steps to restore your roof’s integrity. This process assumes you are replacing a few missing or creased shingles.
Step 1: Locate and Assess
Inspect the roof thoroughly. If you have a large property, using the best drone for roof inspections can save you time and identify high-up damage safely. Look for missing tabs and “chatter” marks where shingles have been flapping.
Step 2: Remove the Damaged Shingle
Slide your flat bar under the shingle directly *above* the damaged one. Carefully slide it across to break the sealant bond. You will need to do this for the damaged shingle and the two courses above it to reach the nails holding the damaged piece in place. Use the bar to pry up the nails, then slide the damaged shingle out.
Step 3: Prepare the Underlayment
Inspect the felt or synthetic underlayment. If it is torn, use the best roofing tape to patch small holes or replace a section if necessary. If you find leaks during this process, you may need to learn how to find a roof leak in the attic to ensure no water reached the decking.
Step 4: Install the New Shingle
Slide the new shingle into place. Ensure it aligns perfectly with the shingles to the left and right. Nail it down using a best roofing nail gun for speed, or a hammer for precision. Most shingles require 4 to 6 nails placed along the nail line (not too high!).
Step 5: Manually Reseal
Since the new shingle’s factory sealant won’t bond instantly in cold weather, apply three 1-inch dots of best roof sealant under each tab. Press down firmly. Also, apply a small dab of sealant to the underside of the shingles you lifted in Step 2 to restore their bond.
Material Comparison: Architectural vs. 3-Tab
When repairing, you might notice different shingle types. Understanding the architectural roof shingle vs 3-tab debate is crucial. Architectural shingles are significantly more wind-resistant (often rated up to 130 mph) compared to the 60-70 mph rating of standard 3-tab shingles. If your area suffers from frequent wind, consider upgrading during your next repair.
| Feature | 3-Tab Shingles | Architectural Shingles |
|---|---|---|
| Wind Resistance | 60 – 80 MPH | 110 – 130 MPH |
| Durability | 20 Years | 30 – 50 Years |
| Appearance | Flat, uniform | Dimensional, wood-like |
| Weight | Lighter | Heavier (more wind-resistant) |

Advanced Wind Damage Scenarios
Sometimes, wind damage goes beyond just the shingles. High-pressure gusts can affect your roof’s ventilation and edge metal.
Failing Ridges and Vents
The ridge is the most vulnerable point for wind. If your ridge cap shingles are missing, water can pour directly into your attic. If you have a metal roof or a hybrid system, ensuring you have the best ridge vent for metal roof is essential to prevent wind-driven rain from entering the home.
Flashing and Eave Damage
Wind can peel back the metal at the edges of your roof. Knowing what is roof flashing will help you identify if the metal around your chimney or valleys has been compromised. If the wind has pulled the flashing away, you cannot simply nail it back; you must reseal the entire transition point.
Long-Term Prevention: Hurricane-Proofing Your Roof
If you live in a high-risk zone, you shouldn’t just repair; you should fortify. The best roofing material for hurricanes often includes metal or high-impact shingles. While the metal roof vs shingles debate is ongoing, metal is undeniably superior in wind resistance.
For those in Florida or coastal regions, asking are metal roofs good in Florida? results in a resounding yes due to their uplift ratings. Additionally, ensure your roof can handle the heat by exploring how to keep roof cool in summer naturally, as heat can make asphalt shingles more brittle and prone to wind damage over time.
Financial Considerations: Insurance and Costs
Is wind damage covered by insurance? Usually, yes. However, you must be careful. If you receive a payout, you might wonder what happens if I don’t use my insurance money to fix my roof?. Not using it can lead to claim denials in the future and potential insurance fraud issues.
If the damage is widespread, a full replacement may be necessary. For a standard large home, checking the roof replacement cost for a 3000 sq ft house will give you a baseline for budgeting. Always factor in the roof inspection cost before starting a major claim.

Detect hidden water damage behind your shingles with a professional moisture meter.
Check Price on AmazonFAQs about Wind Damaged Shingle Repair
1. Can I just glue down a shingle that has lifted?
Yes, if the shingle is not creased or cracked, you can use a high-quality roofing sealant to re-bond it to the course below. This is a common and effective repair for minor wind damage.
2. How do I know if my shingles have wind damage from the ground?
Look for missing shingles, dark horizontal lines (creases), or shingles that appear to be “raked” or crooked. You can also check your gutters for excessive granules.
3. What wind speed causes shingle damage?
Standard 3-tab shingles can begin to fail at 60 mph. High-quality architectural shingles are usually rated for 110-130 mph.
4. Should I repair or replace my roof after a windstorm?
If damage is limited to less than 20% of the roof, repairs are usually sufficient. If more than 30% of shingles are lifted or missing, a full replacement is more cost-effective.
5. How much does it cost to repair a few wind-damaged shingles?
A professional might charge $200–$500 for a minor repair. If you do it yourself, the cost of materials is usually under $50.
6. Does wind damage cause immediate leaks?
Not always. If the underlayment remains intact, you may not see a leak immediately, but the exposed area will deteriorate quickly under UV sunlight.
7. Can I walk on my roof to inspect it?
You can, but be careful. On certain materials, like tile or metal, you must know where to step. Check our guide on can you walk on a tile roof for safety tips.
8. Will my insurance premium go up if I file a wind damage claim?
In many states, insurance companies are prohibited from raising rates for “Acts of God,” such as windstorms, but check your local regulations.
Conclusion: Protect Your Home Today
Repairing wind-damaged shingles is more than just an aesthetic fix; it is a critical maintenance task that preserves the value and safety of your home. By identifying damage early—whether it’s a simple seal failure or a severe crease—you can avoid the massive expense of a premature roof replacement. Remember that safety is your number one priority; gear up with the right harness and shoes before attempting any DIY work.
If the task feels overwhelming, or if your roof is simply too steep, don’t hesitate to contact a professional. While the cost of hiring a roofer may seem high, the peace of mind knowing your home is watertight is invaluable. Take action now, before the next storm turns a minor shingle lift into a major indoor flood.
Ready to Fix Your Roof?
Don’t wait for the next rain. Get the supplies you need to secure your shingles today.
Shop Roofing Supplies on Amazon
Pingback: The Complete Homeowner's Guide: How to Replace a Missing Roof Shingle