
How to Remove Ice Dams from Roof Safely: The Complete Forensic Guide
Winter brings a pristine beauty to many landscapes, but for homeowners, it also brings the looming threat of the ice dam. These thick ridges of solid ice that build up along the eaves can turn a cozy winter sanctuary into a structural nightmare. If you’ve noticed giant icicles hanging from your gutters or water mysteriously dripping behind your walls, you are likely facing an ice dam crisis.
Removing an ice dam isn’t just about hacking away at the ice with a shovel—in fact, doing so can destroy your roofing materials faster than the ice itself. Safely navigating ice dam removal requires an understanding of thermodynamics, roofing structural integrity, and strict safety protocols. This guide provides a step-by-step breakdown of how to tackle this winter foe without ending up in the emergency room or needing a total roof replacement.
What Exactly is an Ice Dam?
Before we dive into removal, we must understand the “why.” An ice dam is not simply frozen snow; it is a structural blockage caused by uneven roof temperatures. When heat escapes from your living space into the attic, it warms the upper sections of the roof deck. Snow on top of these warm sections melts, and the liquid water runs down the slope until it reaches the eaves, which are cold because they overhang the exterior of the house.
Once the water hits the cold eaves, it refreezes, forming a ridge of ice. As this cycle repeats, the ridge grows taller, eventually trapping pools of liquid water behind it. This trapped water, unable to drain, eventually seeps under your shingles and finds its way into your home. This is why understanding how to find a roof leak in the attic is critical during the winter months.
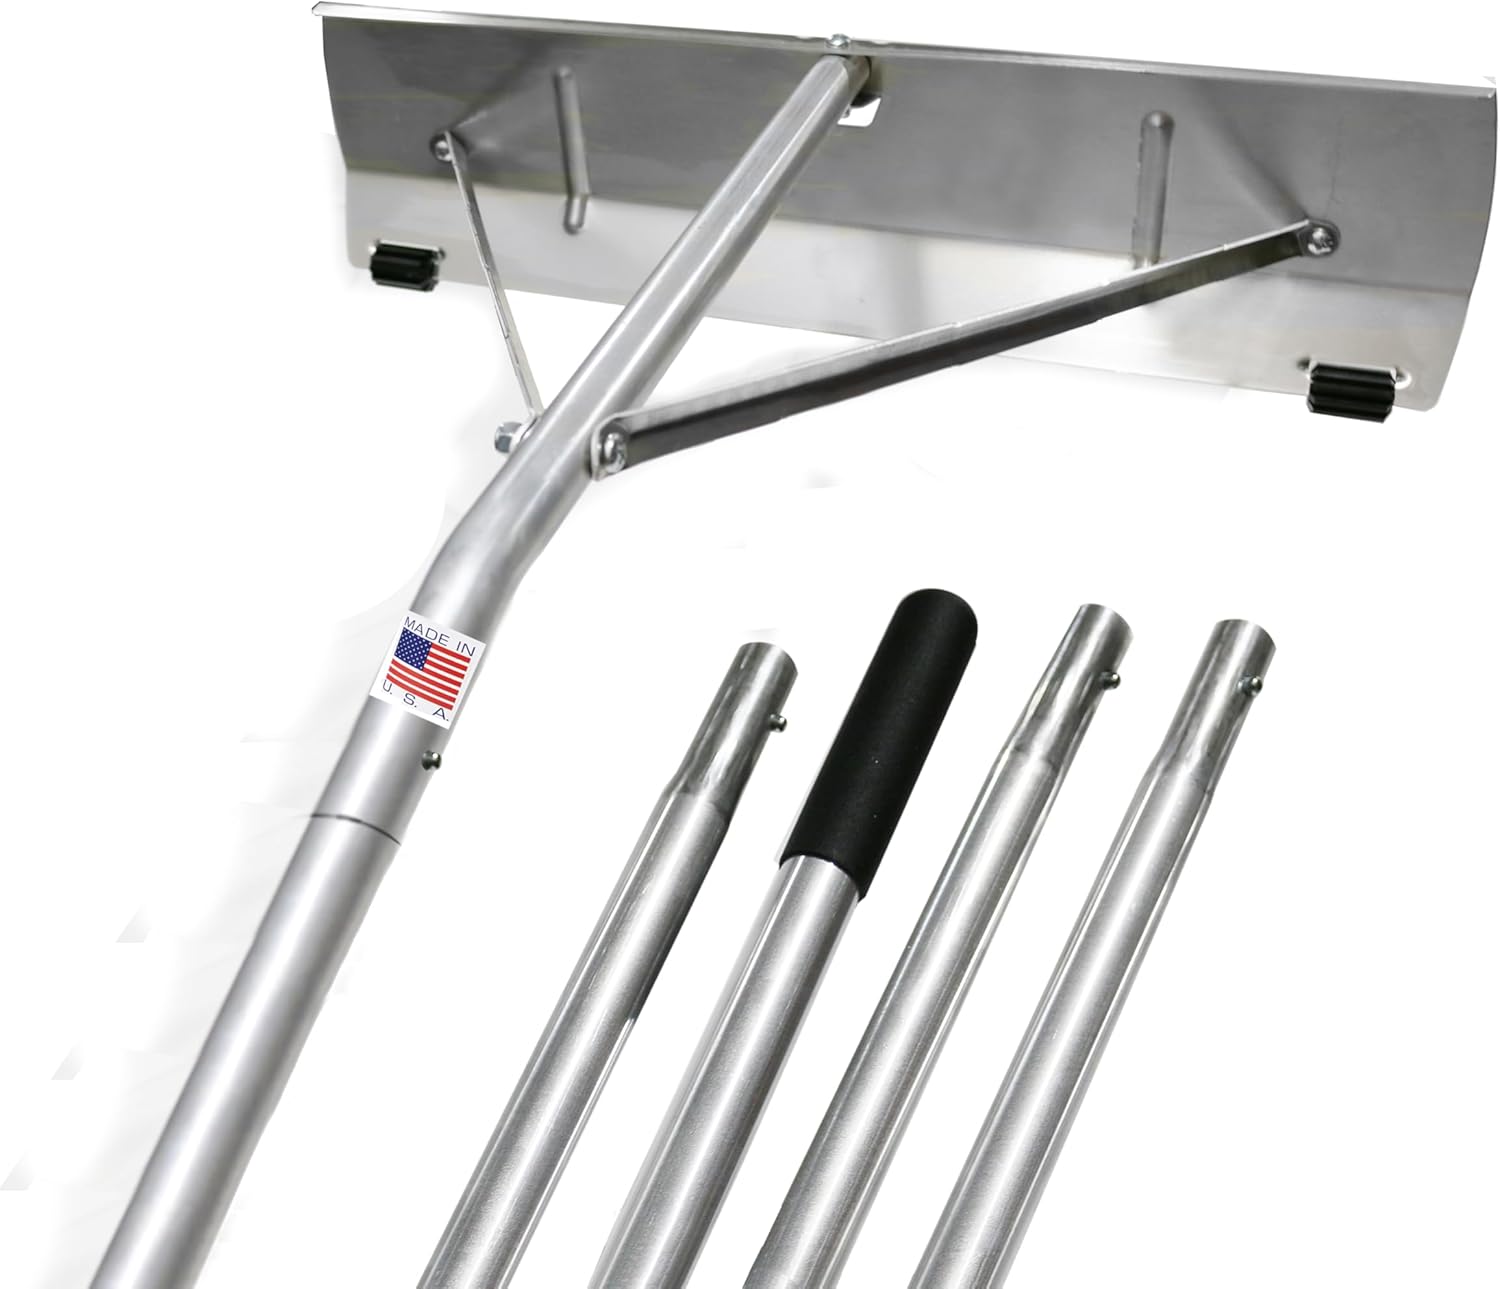
Heavy Duty Roof Snow Rake
The best way to prevent ice dams is to remove the fuel: the snow. This telescoping rake allows you to clear eaves from the safety of the ground.
Check Price on AmazonThe Safety First Rule: The Dangers of DIY Removal
Ice dam removal is one of the most hazardous maintenance tasks a homeowner can perform. Every year, thousands of injuries occur from falls off ladders or roofs during winter. When the ground is frozen and the roof is coated in a mixture of snow, slush, and “black ice,” the risk factor increases exponentially.
If you must climb, having the best roofing shoes with high-traction soles is non-negotiable, though professionals generally advise against walking on a snow-covered roof at all. Furthermore, using a ladder in the snow requires a stable, cleared base. Always check out the best roof ladders that feature stabilizing accessories specifically designed for uneven or slippery terrain.
DANGER: Things You Should NEVER Do
- Never use a hammer and chisel: You will likely puncture your shingles, leading to granules in gutters and immediate leaks.
- Never use a power washer: High-pressure water will force its way under shingles and freeze inside your walls.
- Never use salt (NaCl): Standard rock salt is corrosive and will kill your landscaping and damage your gutters.
- Never go it alone: Always have a spotter if you are working near the roof edge.
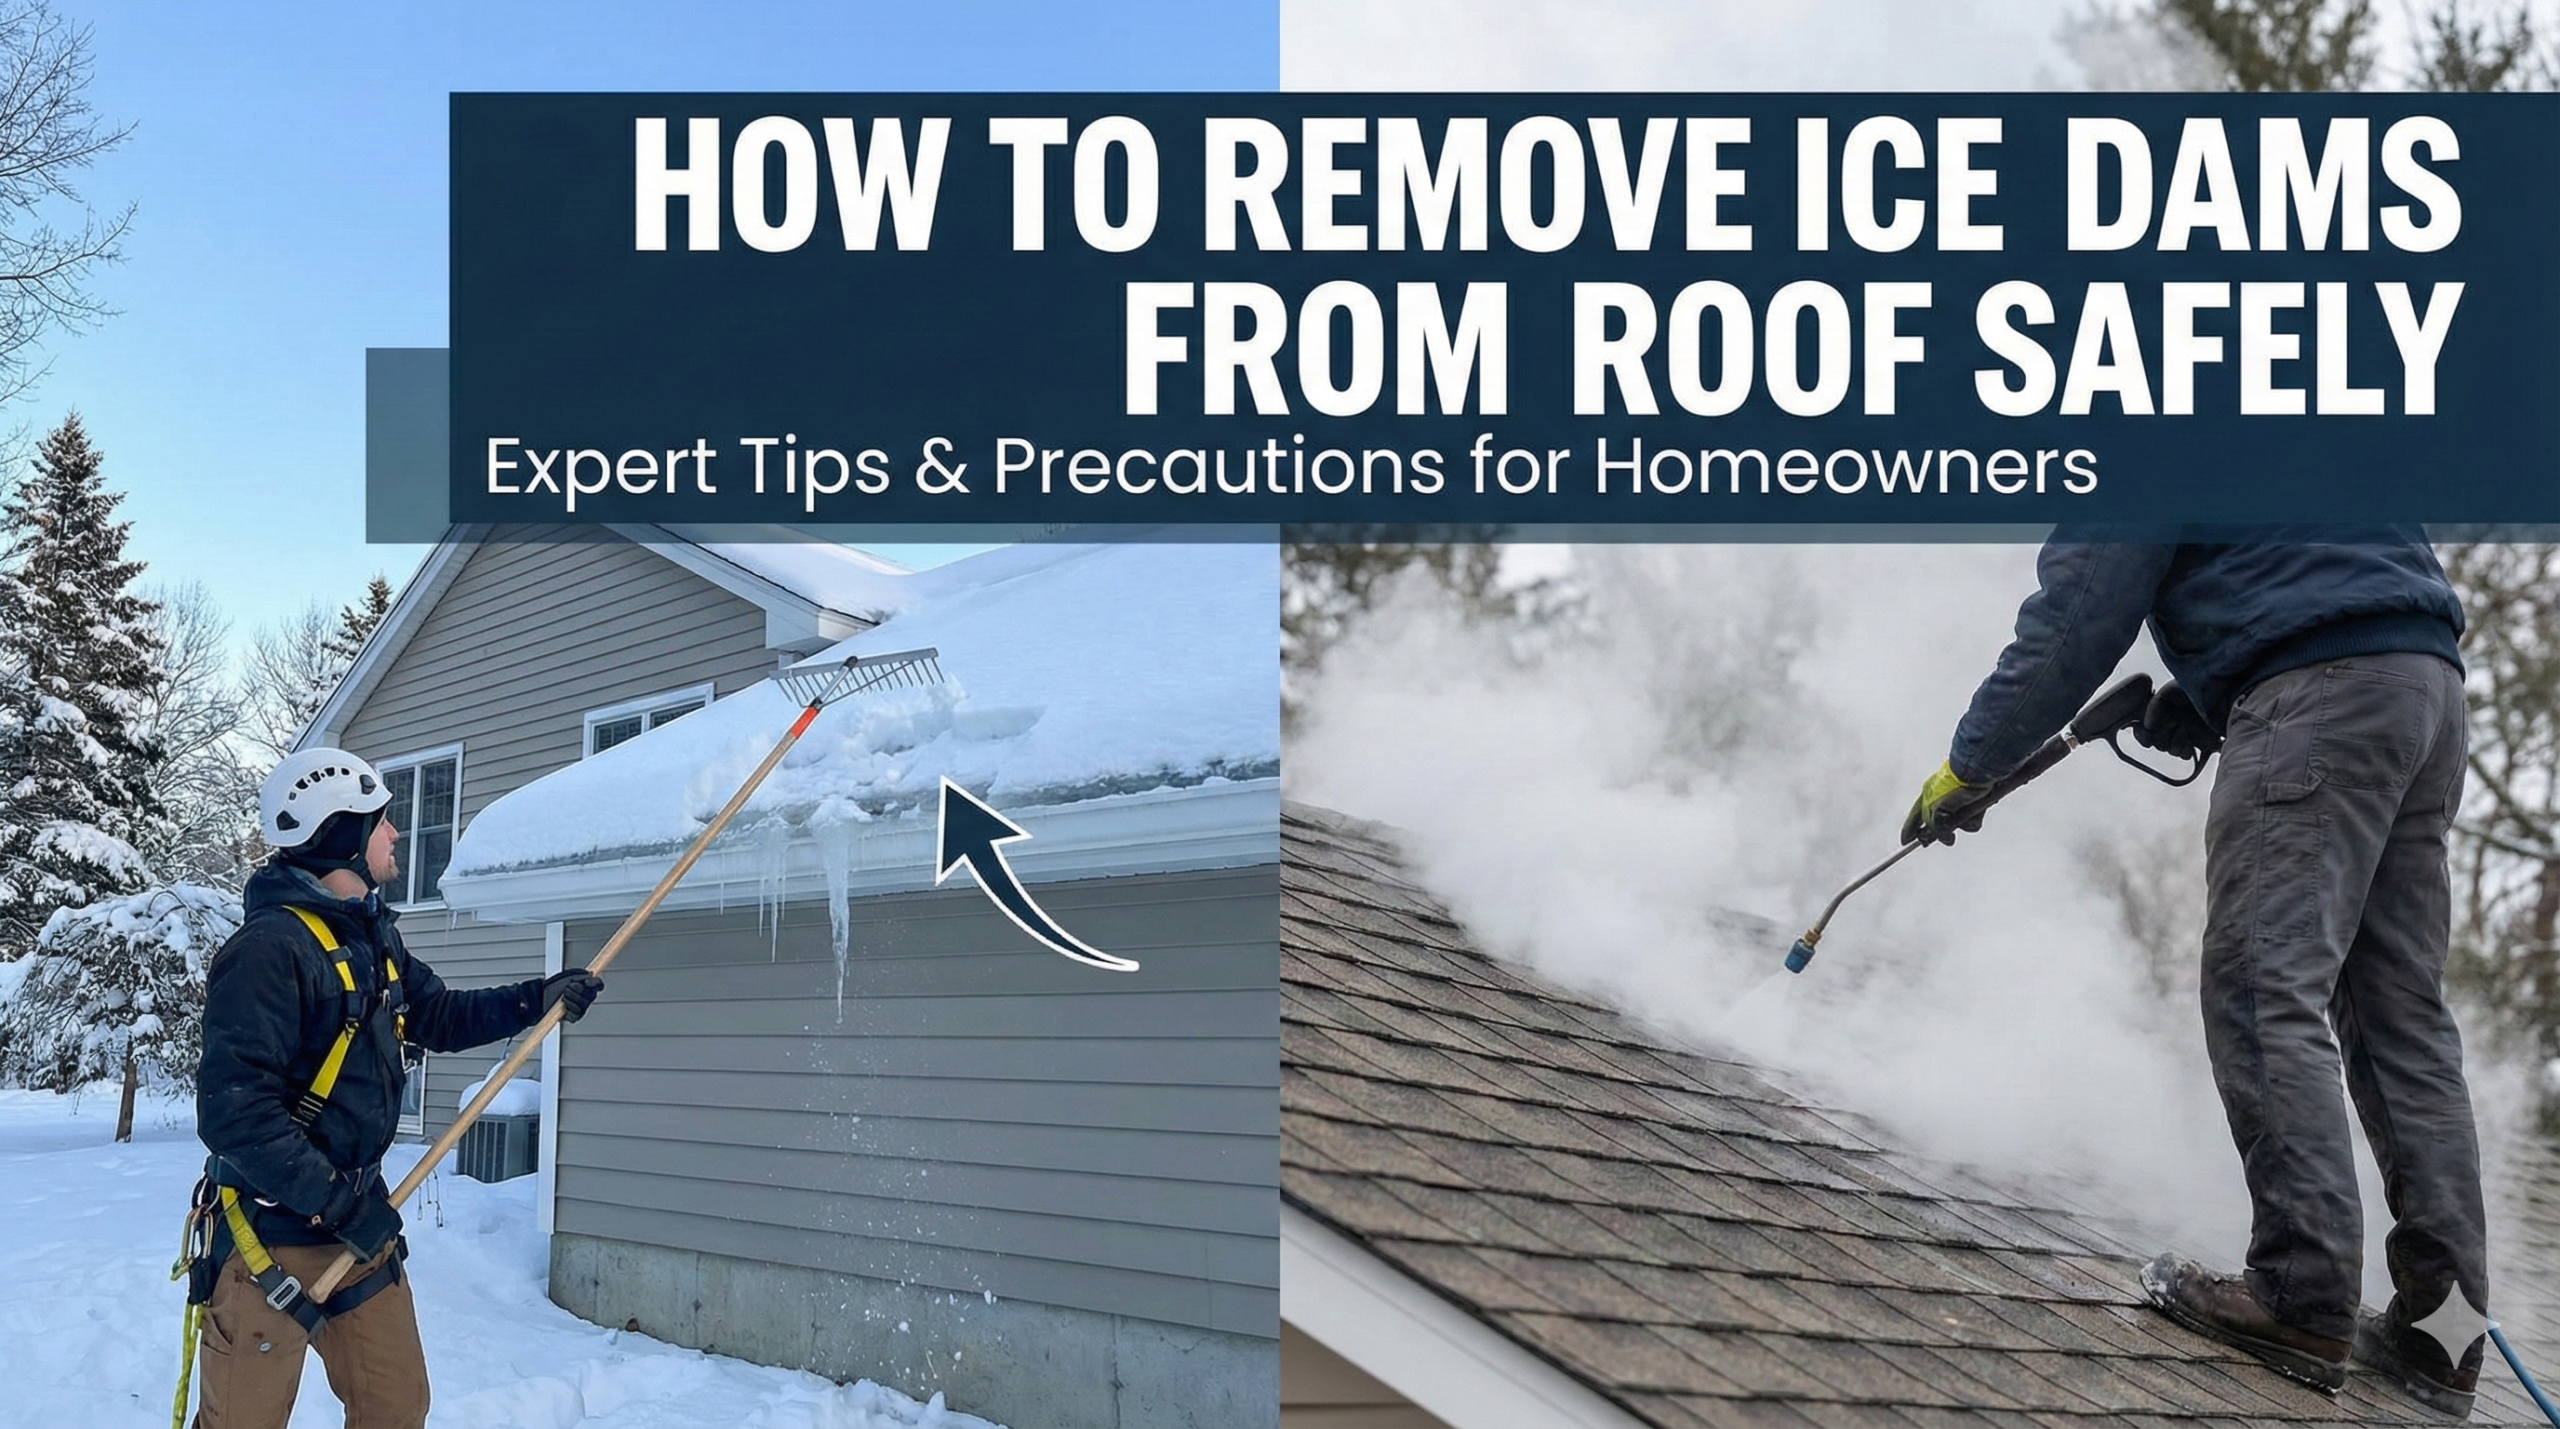
Step-by-Step Breakdown: Safe Removal Methods
There are two levels of ice dam removal: Emergency Mitigation and Permanent Solution. When water is currently entering your home, you need immediate action.
1. The “Pantyhose” Hack (Chemical Melting)
This is the safest DIY method for immediate relief. Fill the leg of an old pair of pantyhose with Calcium Chloride (not rock salt). Tie it off and lay it across the ice dam so that it hangs slightly over the gutter. The chemical will melt a vertical channel through the ice, allowing the trapped water behind the dam to drain safely off the roof.
2. Professional Steam Removal
If the ice dam is massive, the only safe way to remove it without damaging the roof is through a professional steam machine. These machines use high-temperature, low-pressure steam to melt the ice like butter. Unlike a pressure washer, the steam doesn’t use force, so your shingles remain intact.
| Method | Safety Rating | Efficiency | Risk of Roof Damage |
|---|---|---|---|
| Chemical Socks | High | Medium | Low |
| Steam Removal | High (if Pro) | High | Zero |
| Roof Raking | Medium | Preventative | Low |
| Hammering Ice | Critical Risk | Low | Extreme |

Roof-Safe Calcium Chloride Pellets
Avoid corrosive rock salt. These pellets are designed to melt ice effectively while being gentler on your roofing materials and gutters.
Check Price on AmazonLong-Term Prevention: Stopping Dams Before They Start
Removal is a band-aid. To truly stop ice dams, you must address the root cause: attic heat. If your attic is the same temperature as the outdoors, ice dams cannot form. This requires a three-pronged approach: Insulation, Ventilation, and Air Sealing.
Proper Attic Ventilation
Ensuring that cold air can flow from the soffits and exit through the ridge vent is vital. If you have a metal roof, investing in the best ridge vent for metal roof systems ensures that heat doesn’t build up under the panels. For standard shingle roofs, consider installing the best roof exhaust fans to mechanically pull hot air out during the winter.
The Role of Underlayment
When you eventually replace your roof, the purpose of roof underlayment becomes clear. In “Ice Dam Zones,” building codes usually require a self-adhering “Ice and Water Shield” that extends from the eaves to at least 24 inches past the interior wall line. Using the best roof underlayments prevents the inevitable trapped water from reaching your wood decking.
Roofing Materials and Ice Dams
Does the type of roof you have affect ice dam formation? Absolutely. The metal roof vs shingles debate is especially relevant here. Metal roofs tend to shed snow much faster because of their smooth surface, often preventing the accumulation necessary for a large dam. However, if a dam does form on a metal roof, it can be even harder to remove without scratching the protective paint finish.
Conversely, shingles—especially if roof shingles are curling—provide the perfect “grip” for ice to anchor onto. If your shingles are already showing signs of wear, the expansion of freezing water in an ice dam will quickly tear them apart.

Self-Regulating Roof Heating Cables
Install these along your eaves to create melt-channels that prevent ice dams from ever solidifying. A great preventative tool for “hot spots.”
Check Price on AmazonFrequently Asked Questions (FAQ)
Yes. Aside from leaks, the sheer weight of an ice dam can pull gutters off the house and cause the fascia boards to rot. Over time, moisture can lead to mold in the attic, significantly increasing the roof replacement cost.
Usually, no. Insurance covers the damage caused by the ice dam (like ruined drywall), but the removal of the ice itself is considered maintenance. However, it’s vital to know what happens if you don’t use insurance money correctly if a claim is filed.
Generally yes, but you must be careful. If you have a tile roof, walking on a tile roof or raking it can crack the tiles. On shingle roofs, always leave an inch of snow to avoid scraping the granules off.
It depends on the quality. Poorly designed guards can provide a shelf for ice to grow on. Check out the LeafFilter reviews to see how different systems handle winter weather.
No. A heat gun is far too slow for the volume of ice in a dam, and using electrical devices in wet, snowy conditions is a major shock hazard.
Look for: 1. Massive icicles behind the gutters. 2. Ice growing over the edge of the gutter. 3. Water stains on your interior ceiling near the exterior walls.
If you see dams every year, yes. The roof inspection cost is a fraction of what you’ll pay for water damage repairs later.
A roof cricket is a diversion structure used behind chimneys. It helps prevent snow and ice from piling up in a “dead zone,” which is a common spot for dams to form.
Conclusion
Ice dams are a formidable winter challenge, but they are not unbeatable. The key to safe removal is patience and the right tools. By using the “chemical sock” method or hiring a professional steam service, you can mitigate the immediate threat of water intrusion without compromising your shingles. However, remember that removal is only a temporary fix. To protect your home for the long haul, focus on attic insulation and ventilation to keep your roof deck cold.
If your roof has already suffered from winter damage, or if you’re worried about the integrity of your eaves, don’t wait for the spring thaw to act. The sooner you address these issues, the safer your home will be.