
The Complete Homeowner’s Guide: How to Replace a Missing Roof Shingle
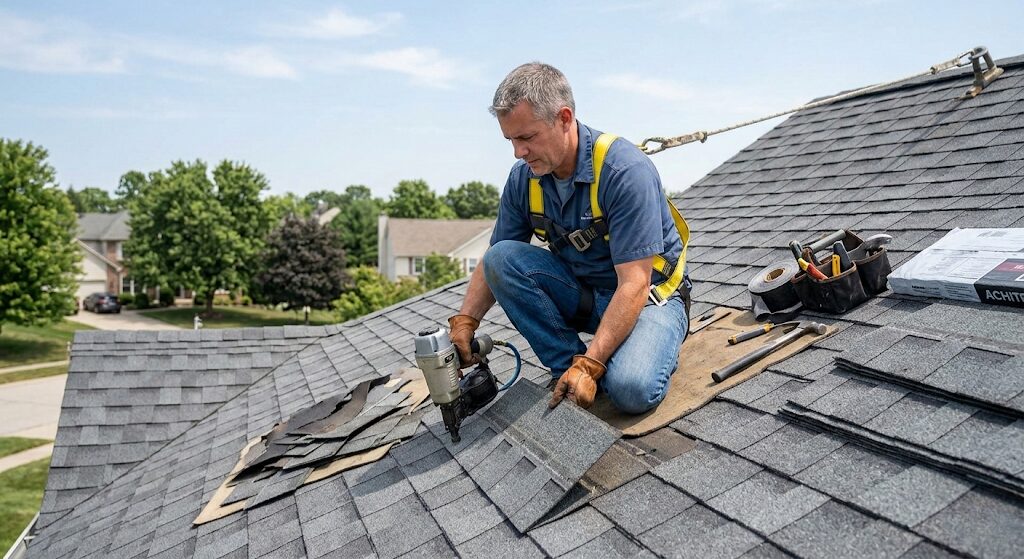
You step outside after a fierce overnight thunderstorm, glance up at your roof, and your heart sinks. Right there, stark against the uniform pattern of your roof, is a dark, rectangular gap. A shingle is missing. While it might seem like a minor cosmetic issue, a blown-off shingle is a critical breach in your home’s most important line of defense against the elements.
Your roof is an intricate, overlapping system designed to shed water efficiently. When just one piece of that puzzle goes missing, the waterproof underlayment and the vulnerable wood decking beneath are instantly exposed to rain, UV rays, and the elements. Leaving a missing shingle unattended for even a few weeks can lead to catastrophic water damage, mold growth in your attic, and rapidly rotting roof trusses.
Fortunately, replacing a single missing asphalt shingle is an entirely manageable DIY project for homeowners comfortable with heights and basic hand tools. In this exhaustive, step-by-step guide, we will walk you through exactly how to safely and effectively replace a missing shingle, the tools you need to do the job right, and the underlying reasons why your roof might be shedding its armor in the first place.
Must-Have: Heavy-Duty Roofing Pry Bar

A specialized flat pry bar (often called a flat bar or roofing snake) is absolutely essential. It allows you to break the tar seal of surrounding shingles and extract hidden nails without tearing the good shingles you are leaving behind.
Why Do Shingles Go Missing in the First Place?
Understanding why you lost a shingle helps you determine if this is an isolated incident or a symptom of a much larger, systemic roof failure. Shingles rarely fall off a perfectly healthy, well-installed roof without extreme provocation.
The most common culprit is high wind. During severe storms, high-velocity winds create lift over the slope of your roof. If the factory-applied adhesive strip (the sealant line) on a shingle has degraded or was never properly activated by the sun, the wind will catch the front edge of the shingle, bending it backward until it snaps or pulls free from its nails. If you are noticing multiple shingles lifting, you need to understand the mechanics of wind uplift and how to reseal asphalt shingles before you lose whole sections of your roof.
Other major causes include:
- Improper Installation: If the original roofers drove the nails too high up on the shingle (above the designated nailing line), the nails will completely miss the top edge of the underlying shingle. This drastically reduces the wind resistance of the entire system.
- Age and Thermal Shock: As asphalt shingles age, they lose their protective granules, dry out, and become brittle. The constant expansion and contraction from hot summers and freezing winters will eventually crack the fiberglass matting, allowing pieces to break away.
- Animal Damage: Raccoons, squirrels, and birds can surprisingly tear away loose shingles to gain access to a warm attic space for nesting.
Assessing the Damage & Tracking the Leak
Before you climb onto the roof, your first step should actually be a trip up to your attic. A missing shingle does not always mean an immediate, visible leak in your living room ceiling. Water is insidious; it can penetrate the roof deck and run down the rafters for several feet before dropping onto your insulation.
Take a bright flashlight into your attic during the day. Turn off the lights and look toward the area where the shingle is missing. Do you see daylight piercing through? Do you see dark, rusted nails sticking through the decking? Look closely at the wood for dark water stains or mold. Learning how to properly track a roof leak via attic water trails and shiners is a vital skill that ensures you catch structural rot before it compromises your ceiling joists.
Professional Grade Polyurethane Roof Sealant
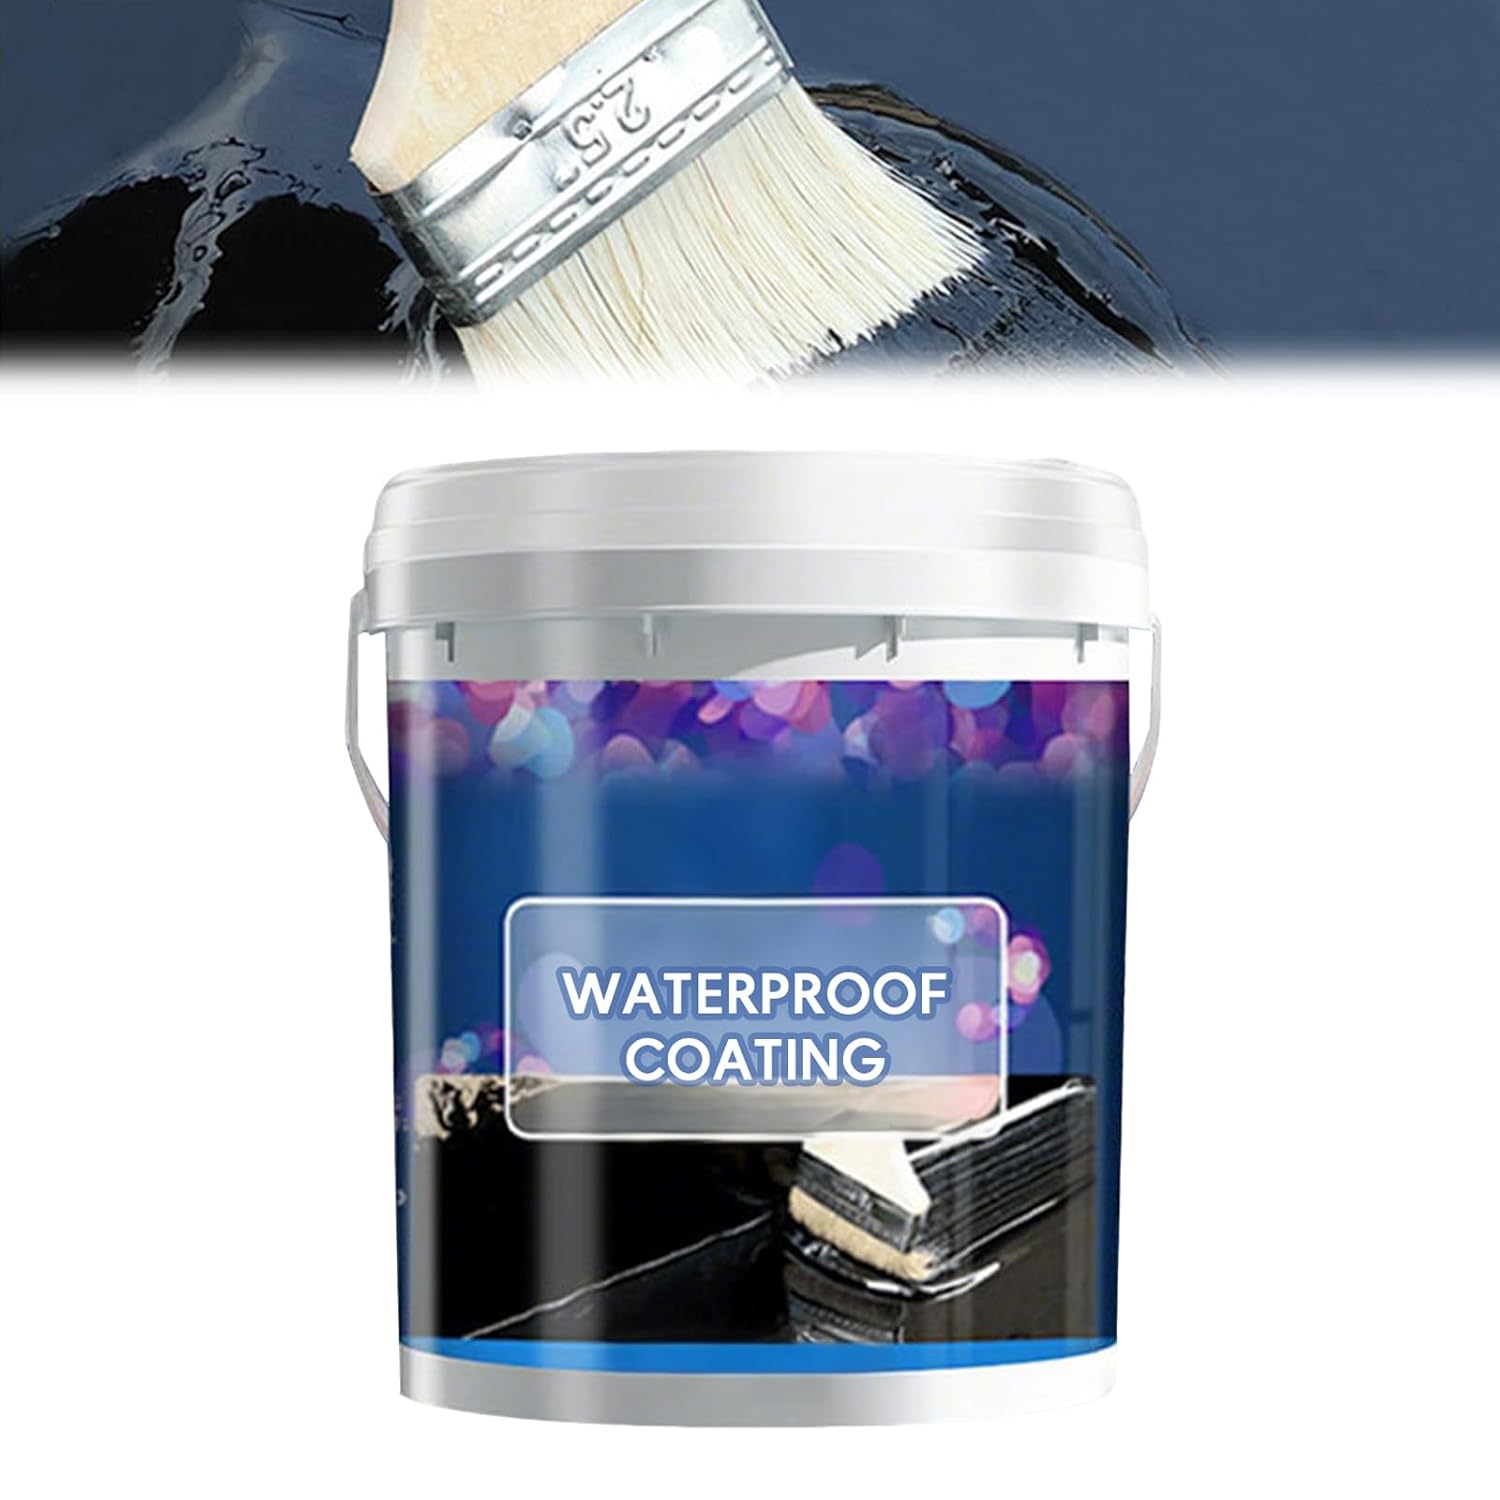
When you replace a shingle, you break the factory tar seal of the shingles surrounding it. You must manually reseal them using a high-quality, weather-resistant roofing cement or polyurethane sealant to prevent future blow-offs.
Essential Tools & Materials Checklist
There is nothing worse than getting halfway through a roof repair only to realize you left a vital tool in the garage. Gather all of these items into a toolbelt or bucket before you make the climb:
- Replacement Shingles: Hopefully, you have spare shingles left over from your original roof installation. If not, you will need to buy a bundle of matching 3-tab or architectural shingles.
- Flat Roofing Pry Bar: Essential for breaking seals and pulling nails without damage.
- Galvanized Roofing Nails: Use 1 ¼-inch to 1 ½-inch galvanized steel roofing nails with a broad head. Do NOT use standard wood framing nails.
- Claw Hammer: A standard hammer works, but a dedicated roofing hatchet provides better leverage.
- Roofing Cement/Sealant: A caulk tube of asphaltic roof cement or polyurethane sealant to glue down the edges.
- Utility Knife: Equipped with a hook blade specifically designed for cutting thick asphalt shingles.
- Safety Gear: Work gloves, eye protection, and soft-soled shoes.
Crucial Safety Preparations: Before You Climb
Roofing is consistently ranked as one of the most dangerous DIY tasks a homeowner can undertake. Gravity is unforgiving. Before you attempt to replace a missing shingle, you must strictly adhere to safety protocols.
First, evaluate your footwear. Hard-soled work boots have no grip on granular asphalt and will cause you to slide. You must wear soft-soled sneakers or, ideally, invest in the best roofing shoes designed specifically with specialized foam outsoles to grip steep slopes and protect the shingles from scuffing.
Secondly, if your roof has a pitch greater than 6/12 (meaning it rises 6 inches for every 12 inches of horizontal run), or if you are working on a two-story home, do not rely on your balance alone. You must invest in a personal fall arrest system (PFAS). Reviewing the best roof harnesses and understanding how to anchor them securely to your roof’s ridge could quite literally save your life.
Safety First: Complete Roof Fall Protection Kit

Do not risk a life-altering fall for a $20 shingle. A complete safety kit includes a reusable roof anchor, a high-strength lifeline, a rope grab, and a full-body harness. It is the cheapest life insurance you will ever buy.
Step-by-Step: How to Replace a Missing Shingle
With your tools secured and your safety harness anchored, you are ready to execute the repair. Follow these steps meticulously to ensure the new shingle is watertight and structurally sound.
-
Step 1: Break the Seal on the Surrounding Shingles
Shingles are laid in overlapping rows, meaning the shingle you need to replace is pinned down by the shingle directly above it. Furthermore, the sun has melted the factory tar strip, gluing the overlapping shingle down.
Take your flat pry bar and gently slide it under the bottom edge of the shingle directly above the missing one. Slowly work the bar back and forth to slice through the tar seal. You must do this for the shingle directly above the gap, and often the shingle one row above that, to gain access to all the nails.
-
Step 2: Locate and Remove the Hidden Nails
A standard asphalt shingle is held in place by four to six nails. To remove the broken remnant of your missing shingle, you must remove the nails driven through it. However, you also have to remove the nails driven through the shingle above it, because those nails penetrate the top edge of your target shingle.
Lift the loosened overlapping shingle slightly (do not bend it backward more than 45 degrees or it will crack). Slide your pry bar up under the shingle until it hooks around the nail shaft. Gently pry the nail up. Remove all nails securing the broken shingle.
-
Step 3: Slide Out the Debris
Once all the nails are removed, the broken remnant of the missing shingle should slide out freely. Take this opportunity to inspect the underlayment (the black tar paper) beneath. If there are holes from old nails, fill them with a dab of roofing sealant before proceeding.
-
Step 4: Slide the New Shingle into Position
Take your new replacement shingle and carefully slide it up underneath the overlapping row. You may need to wiggle it slightly to bypass the existing tar strips. Ensure the bottom edge of the new shingle aligns perfectly flush with the shingles on its left and right.
-
Step 5: Nail the New Shingle in Place
Lift the overlapping shingle just enough to swing your hammer. Drive 1 ¼-inch galvanized roofing nails into the new shingle along the designated nailing strip (usually a white line or a textured band located just below the sealant strip). Drive the nails flush with the shingle surface—do not over-drive them so deeply that they cut through the fiberglass matting.
Remember to re-nail the overlapping shingle that you removed the nails from in Step 2.
-
Step 6: Reseal the Edges
When you broke the tar seals in Step 1, you compromised the roof’s wind resistance. You must manually recreate this seal. Apply three or four quarter-sized dabs of roofing sealant or polyurethane caulk under the bottom edge of the newly installed shingle, pressing it firmly down. Repeat this process for the overlapping shingle above it. This ensures the wind cannot lift the repair.
Precision Roofing Knife with Hook Blades

If you need to trim a 3-tab shingle to fit or cut a clean line on a damaged architectural shingle, standard straight utility blades will dull instantly on the asphalt grit. Hook blades are specifically designed to slice cleanly through roofing materials without snagging.
The Art of Color Matching: Fading and Blending
One of the most frustrating aspects of replacing a missing shingle is the color disparity. Even if you have leftover shingles sitting in your garage from the original installation, they will look significantly darker and more vibrant than the shingles currently on your roof. Why? Because the roof has been bleaching in the sun and losing colored granules for years.
If the mismatch is highly visible from the street and bothers you cosmetically, there are a few professional tricks. You can harvest a weathered shingle from an inconspicuous area of your roof (like a hidden rear valley or behind a chimney) to use for the highly visible repair. You then use the brand new, un-faded shingle to replace the one you harvested in the hidden spot.
Over time—usually 6 to 12 months—the sun will bake the oils out of the new shingle, and it will eventually fade and blend into the surrounding roof much better.
When to Put Down the Hammer: Calling a Professional Roofer
While replacing a single missing shingle is a fantastic DIY project, there is a fine line between a weekend repair and a dangerous structural liability. You should absolutely halt your DIY efforts and call a licensed, insured roofing contractor if you encounter any of the following:
- Extensive Rot: If you pull back the missing shingle and the wooden decking crumbles in your hand, or is black with rot, you have a massive leak. The plywood must be cut out and replaced structurally.
- Multiple Missing Shingles: If you lost 10, 20, or an entire ridge cap of shingles, the scope of work has exceeded a patch job. This likely indicates widespread adhesive failure, and you may qualify for an insurance claim for wind damage.
- Dangerous Pitches: If your roof is terrifyingly steep, or if the missing shingle is located near the precipice of a three-story drop, do not risk your life. Roofers have specialized scaffolding, jacks, and safety training for these exact scenarios.
- Brittle Roof Age: If your roof is over 15 to 20 years old, simply lifting the overlapping shingle to remove a nail might cause that older shingle to snap in half. You end up chasing the repair up the entire slope of the roof, doing more damage than you are fixing.
Frequently Asked Questions (FAQs)
Final Thoughts on Roof Maintenance
Your roof is your home’s shield, taking the brunt of every storm, blistering heatwave, and freezing blizzard. By taking immediate action to replace a missing shingle, you are actively preventing minor exterior wind damage from compounding into thousands of dollars of devastating interior water damage.
Remember, the key to a successful DIY roof repair lies entirely in preparation and safety. Equip yourself with the correct tools, respect the heights you are working at by using a fall arrest harness, and execute the repair methodically. A well-placed shingle and a tube of sealant today guarantee a dry, secure, and stress-free home tomorrow.
Ready to Tackle Your Roof Repair?
Don’t wait for the next rainstorm to test your exposed roof decking. Gear up with the professional tools you need to do the job safely and permanently.